Showing posts with label Photography. Show all posts

Saturday, October 23, 2010

Wedding DIY: Fabric Flower Center Pieces


Jenna and Mike's amazing photographer Wendy Carter sent over these amazing pictures from the reception.
Find her Photography website HERE.
Find her Blog HERE right now she has a bunch of pictures from their wedding and they are all so amazing!

So here's how I made them...
Cut out what feels like hundreds of  1.5 inch circles (They do not have to be perfectly round). 
 Purchase Styrofoam balls in various sizes.  Joanns was great and you can ALWAYS find coupons online as well.
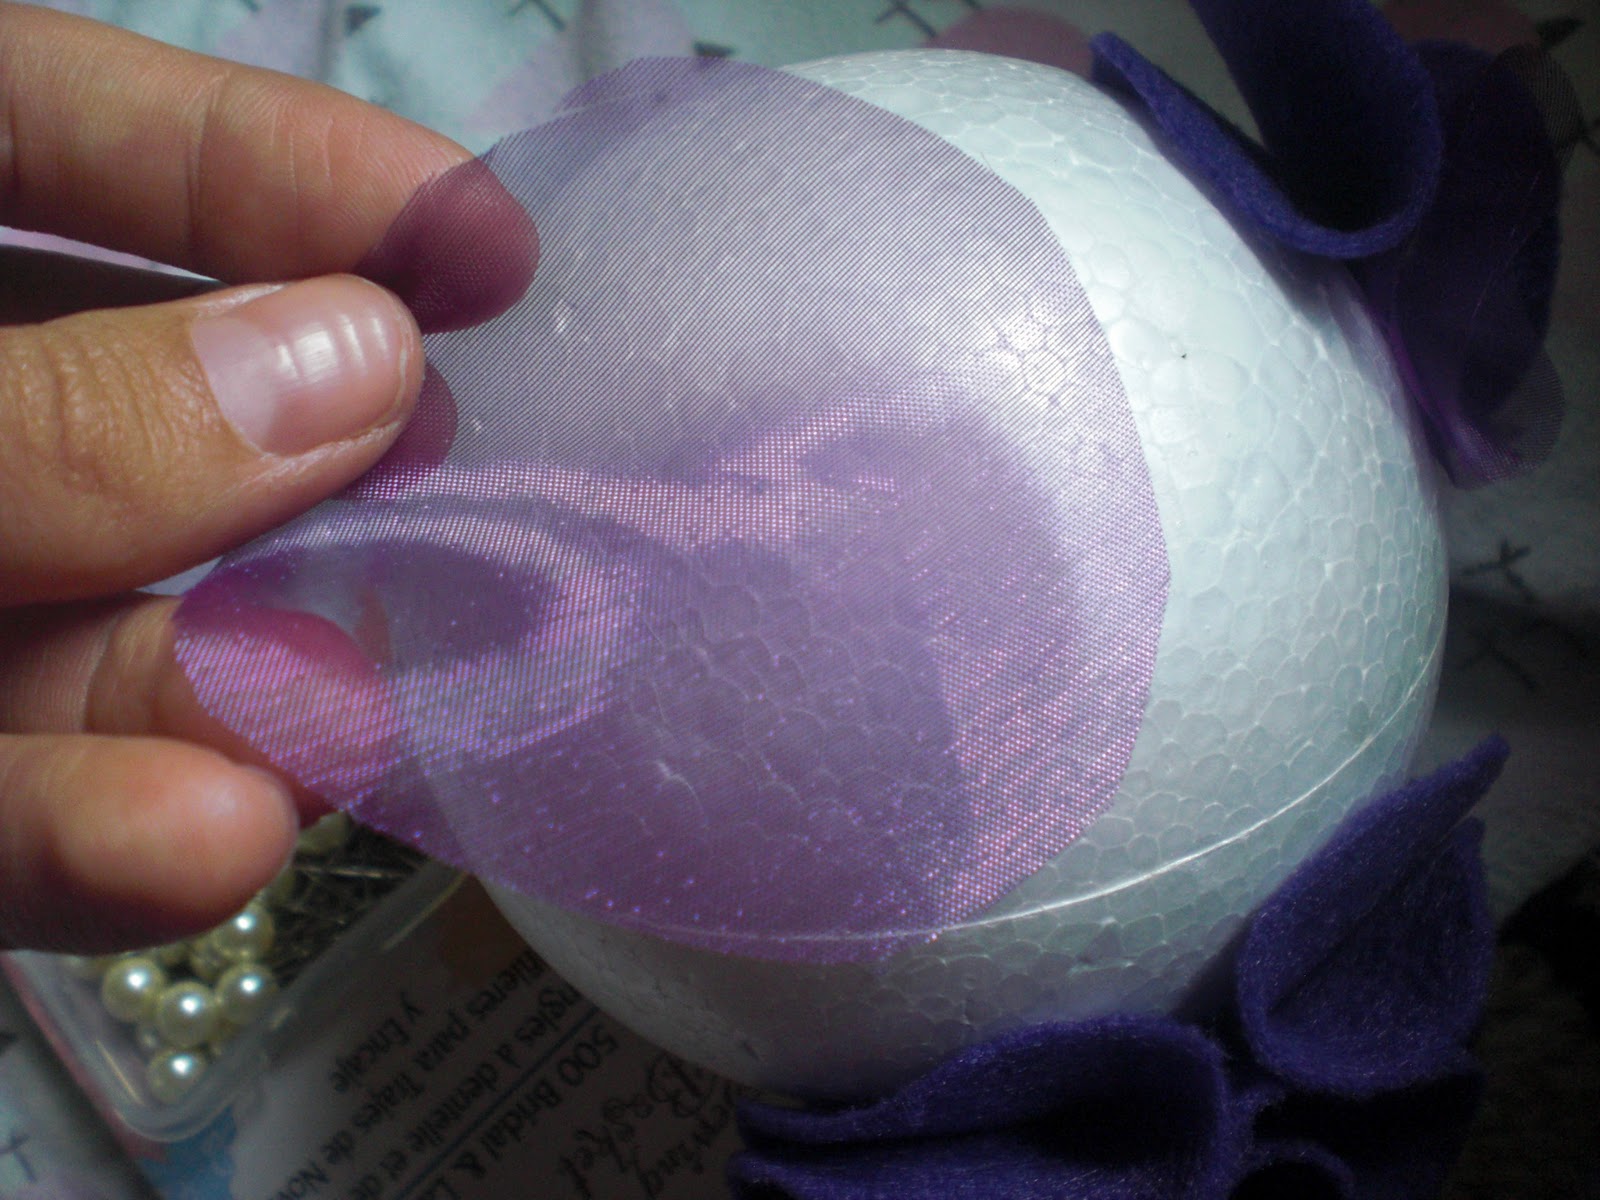
Fold your circle in half.
Then fold in quarters.
Use strait pins to push the corner into the Styrofoam.
You can also push in circle halves to add variety.
Add some wedding bling by putting a pearl on the end of a strait pin.
Use a few different textured fabrics throughout.
So pretty.
Keep adding circles until ball is covered.
Most of these were placed in vases and we covered up to the point where  the vase covered the Styrofoam.  It was easier to leave the bottom clear.
To find more vases that matched Jenna's color scheme clear vases from the dollar store were spray painted.
We created 11 total fabric flower balls and it took a good half a day with 6 people helping. It is a bit time consuming but in place of real flowers well worth the time and money saved.

Sophie's Tip: There are two kinds of Styrofoam at the craft store. Buy the cheaper one! It is called "smooth" Styrofoam and it hold the strait pins SO much better!

Wednesday, January 27, 2010

Easy way to display pictures and art

All you need is ribbon or string...

One of these (I found in the mini tool kit at the dollar store)...
And some of these (less than 2 dollars at Walmart)...
Sophie's tip: This is a great way to display all of those fantastic art projects your little ones do or you can use it to string Christmas cards across your living room next Christmas!
PS SOOOO sorry for my leave of absence. Being a new mom hit me like a whirlwind and it has taken me months to do anything remotely creative. I think I have my bearings now:)

Friday, March 27, 2009

Be a Professional PHOTOGRAPHER... In only a couple of minutes

1. Get Inspired - While visiting my sister in Michigan I decided to have a photo shoot with my 5 year old niece. I decided to look at some of my favorite photo websites for inspiration. I love the edgy design ideas of Winkfotos. Her pictures are bright with color accents and do not look overly posed. So out came the tutu's and the converse.

2. Click Picnik - I always wanted to be able to produce rad pictures but when looking into photo shop I was disappointed to find some of their cheaper programs for around 100.00
Here is my solution: Picnik.com

The great part is it's completely FREE!

BEFORE:

3. Edit your photo - First I selected the Edit tab and messed around with color. I used this to up the temperature of the picture. Then I used the crop tool to get rid of some excess space.

4. Add fun apps - Next under the Create tab I selected the applications "Boost" and "Soften". To finish it off I added the text in the corner.

AFTER:
Have you always wanted to explore the creative facets of photography?

I have.


Now go create!!

(If you know of any other good sites that are fun, cheap and easy to use Please leave a comment with the link!)