This project from start to finish took 30 minutes!
1. Cut out one inch strips of fabric. (Smaller or larger depending on how big you want your flowers.)
2. Cut a (fairly even) square out of your strip. This makes it easier to make sure your flowers are all the same length. TIP- Be sure to use fabric that won't fray!!!
3.With the corners as your guide cute out four petal flowers. I cut out between 34 and 36 flowers.
4. Now find the cardigan you want to use. I would lay out the petals in the arrangement you want so you like how it looks and so you are sure you have enough.
5. With thread similar to the color of your flowers stitch them on. (I used 2-3 larger stitches per flower.)
1. Thank the person who gave you this award: BRITTNEY:)
2. Share 7 things about yourself. a. When I am having a really bad day my husband sends me to go shoe shopping. b. My favorite song is Dave Matthews Band, #41. It is sad and happy to me at the same time, which I love. c. I want to be a singer. I just about pee my pants with fright singing in church but I still want to do it. d. I want to be a photographer. I want to get a fabulous camera and take free (and amazing) pictures for my family and friends. e. I still have 5 baby teeth to loose... and I am almost 26 years old. (I've always been a late bloomer.) f. I love to dance. I hear music and I make up dances in my head. g. I have another craft" blog... sisters4saymoreismore.blogspot.com with my amazing sisters.
3. Pass the award along to 9 bloggers who you have recently discovered and who you think are fantastic! (in no particular order...) The Bright Side -The most upbeat happy blog I have ever read. Bladh Photography -Creative photography. Memoirs of a Receptionist -This girl is Hillarious, I die laughing at her stories. Grosgrain -Creative and crafty projects. MADE -Great photography and to die for ideas! The Selfish Seamstress -Amazing sewing projects and such a funny writer:) ~Ruffles and Stuff~ -Original repurposing and DIY projects that anyone can do. Little Red Roost -Great style and cute projects. Freshly Picked -She has tutorials for fun clothes.
4. Contact the bloggers you've picked and let them know about the award.
Andrea (the bride) and I walked around fields near her nieghborhood with large saws in our hands looking for stray branches to use. Her kind fiance followed us with a giant cardboard box to carry all of our findings in, the sweetheart.
Women in her Ward (church group) got together and made all the paper cranes. Her Mom got a paper puch out of a flower and hand punched most of the blossoms then we hot glued them on the braches.
The paper cranes are hanging on Christmas ornament hooks and the frames were modge podged with coordinating scrapbook paper onto frames from the dollar store.
The vases were filled with rocks found at the dollar store and one bag filled two vases.
SO GENIOUS!
I also loved the chinese laterns hanging everywhere. SO fun and so fabulous.
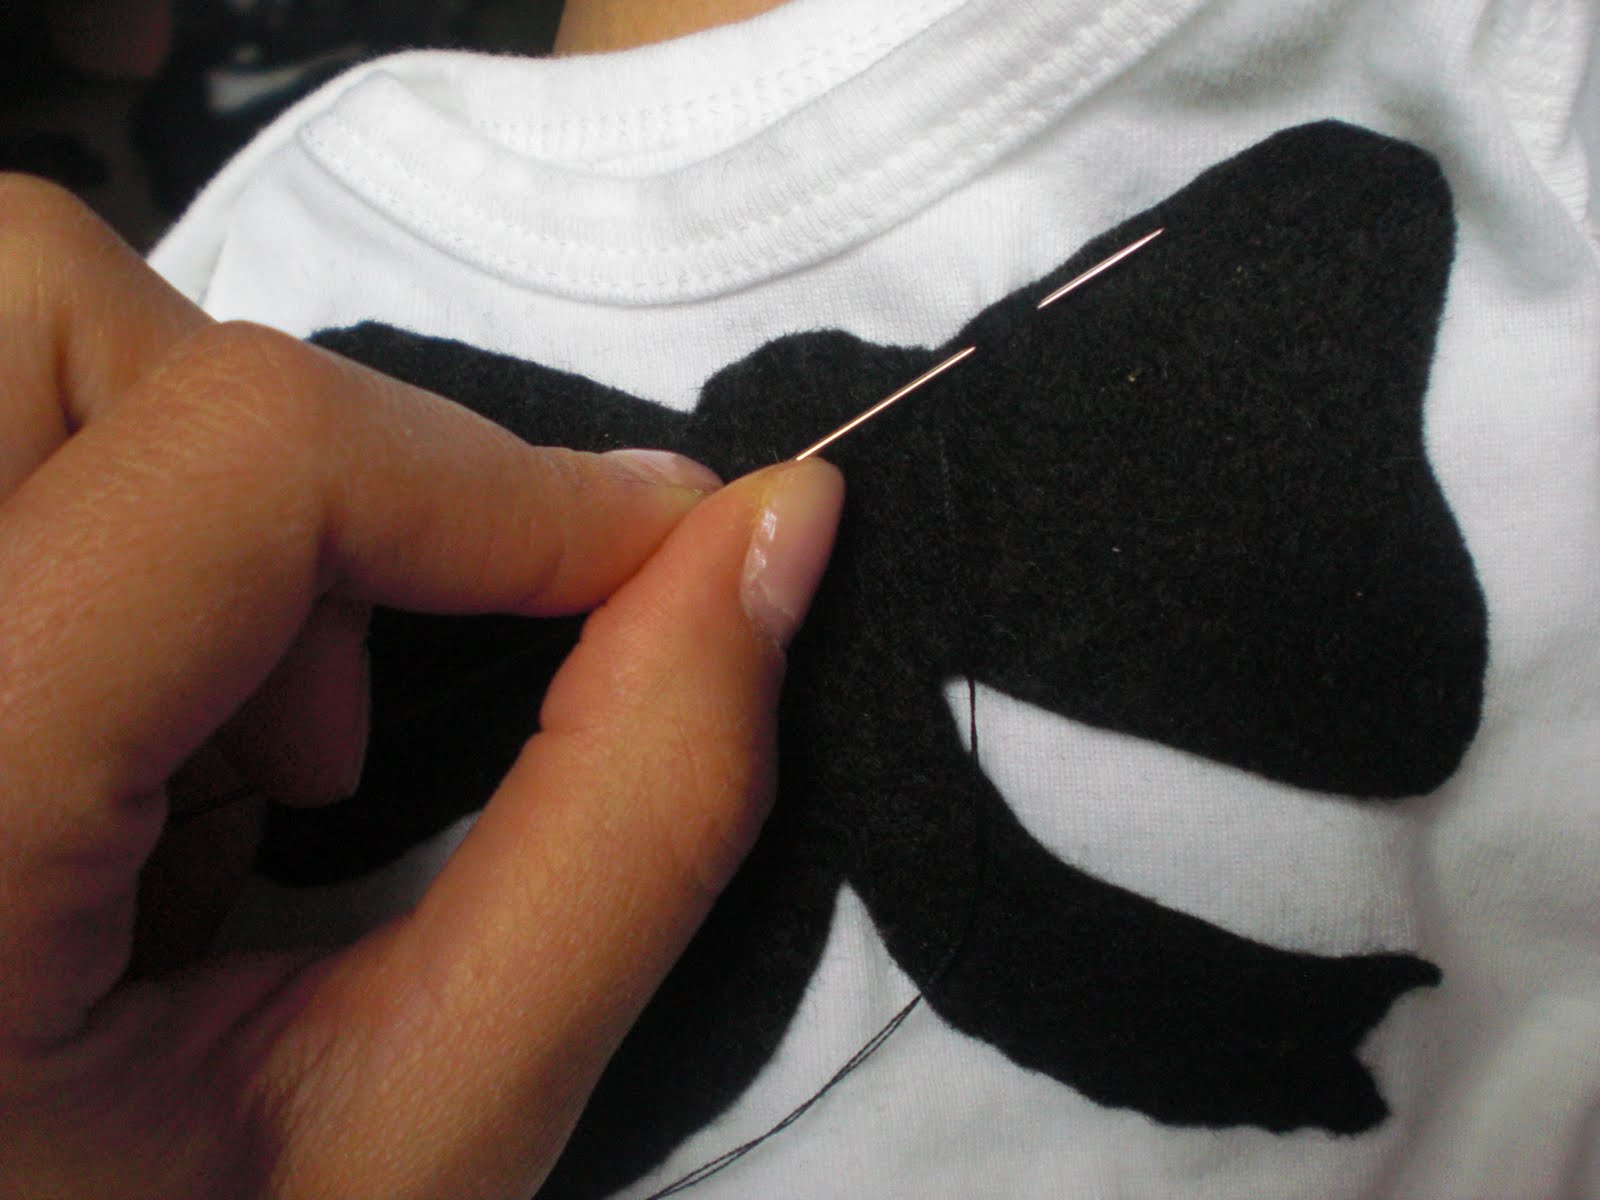
Step Five: Sew on to a shirt or cardigan and TA DA!
Here the finished shirt I embellished for Eden.. After:
Here is another great idea...
So many patterns and possibilities.
Sophie's Tip: Remember to use Fray Check on the edges if the fabric frays, so when you wash it it wont unravel. Lay flat to dry to keep the form looking the best.
These are called "YoYo's" and you can look up all sorts of ways to be creative with them. Send in some of your creations and I would love to post them here.
All you need is ribbon or string... One of these (I found in the mini tool kit at the dollar store)... And some of these (less than 2 dollars at Walmart)...
Sophie's tip: This is a great way to display all of those fantastic art projects your little ones do or you can use it to string Christmas cards across your living room next Christmas!
PSSOOOO sorry for my leave of absence. Being a new mom hit me like a whirlwind and it has taken me months to do anything remotely creative. I think I have my bearings now:)
Okay I am a perfectionist and I am always wanting to make things better. But I decided that I better post this now "unfinished" or else I never will.
The baby is due in 16 days and I can't wait! I really wanted her room to be all "kid", really bright and easy to organize.
Her crib was a KSL Classifieds find. 90 dollars for the crib, mattress and changing table. I love the classic look of it and the clean lines. I originally was looking for a Jenny Lind crib but I like this one even more.
The blanketunder the polka dots was mine when I was a baby. I never dragged it around so it is still in good shape.
The shelf's I found at a thrift store, 2 dollars each.
I painted the letter 'A' onto a canvas.
Brent cut out and made the turtle out of felt and I framed it behind scrapbook paper.
The wooden letters are from Walmart, 1.97 ea.
The books are "vintage". Mrs. Piggle Wiggle in purple hardback was an ultimate find for .10 cents at the Manti library.
The pillows I made myself (looking closely you can tell) and then hand stitched felt flowers and birds on them.
This sweet dress was worn by my mother and the pursewas my grandmas. (If you look closely you can see Mickey and Mini)
I spray painted this shelf white, a thrift store find.
The books are the Wizard of OZ series from my Grammy, printed in the 50's. I read them all growing up and I LOVE them!!!
I got the Chinese lanterns at Party Land for 8 dollars.
And I found the globe at Ross for 15. I don't know why, but I felt like I needed a globe, it just inspires creativity and adventure in me.
I got the 9 cube shelf at target as a baby shower gift. (Thanks Tasha)
I love the fabric drawers, they make storing so easy!
The blanket was handmade by my friend Marinda. I just love it.
I have burp clothes in the wicker basket, the frame on the bottom is vintage Winnie the Pooh from Erika, and the book is from Janet.
Rocker Before:
The rocker was a DI (thrift) find for 25 dollars!
Covering the rocker was not as hard as I thought, thanks to my mother in-law Janet!!
She helped me sew covers and Brent and I just unscrewed the foot stool and covered it.
Rocker After:
Sophie's Tip:
A room can be really unique if you try to add elements that mean something to you. I loved incorporating my old blanket and my favorite books into the room.
With this project I didn't worry too much about matching. I didn't want a crib "set" because I felt that I would have to tone down patterns in other places of the room. I think it can be fun to mismatch things that "go" together. Ex: White furniture (not a set but all white) or bright colors (not all the same patterns but in the same color scheme).
A room can be a process, this one is definitely a process for me. Take your time Don't break the bank trying to get it all finished just add items as you go.
I was inspired by these two pictures from Apartment Therapy. I thought to myself "what a clever idea, and I bet it is cheap!"
This is a seller I found on Etsy.com who makes the mobiles...
Cute, huh?
So, of course I set out to make my own... Step 1: Fold paper cranes. (For a tutorial on paper crane making go here. I defiantly needed the help.)
Step 2: In the back fold of the crane hot glue ribbon, thread or yarn.
Step 3: Create the base of the mobile. I used to branches and tied yarn from all 4 ends. I gathered the yarn in the center and decided where it needed to be tied for the mobile to be balanced.
Step 4: To make hanging the cranes easier I just hung the mobile in the doorway and attached the cranes one at a time.
Sophie's Tip: I used scrapbook paper from a package I bought at Target. The cranes require a perfect square sheet of paper and the scrapbook paper worked perfect! It was 8 dollars for 40 sheets and I liked all the patterns. At craft stores paper is regularly .60 cents a piece! I love the paper so I know I will use the rest for crafts or scrap booking in the future. AND I also used a small dot of hot glue over the knots that I tied just to ensure that they wouldn't come undone. Use a toothpick to hold the string down though, because I burned the crap out of my finger tips and was saying swear words in my head at the hot glue gun.....
I was inspired by LOUANDLEE. (On Etsy) Their headbands are sweet and unique. I had to try...
Felt is so cheap, at 30 cents a sheet you can't go wrong.
I bought a pack of 6 black headbands from Target for 3 dollars.
I added tiny pearls and beads as a final touch.
I added some lace to spice up Elise's headband.
Cora decided to wear her headband her own special way.
Sophie's Tip: I started out sewing the flowers together but a hot glue gun works even better and faster... I am a fast and easy projects kind of person so the easier the better. And, you NEED sharp scissors, kiddy ones won't work.